
TLDR – How to set up up network peering between two VCN’s on Oracles Cloud with pictures and majesty.
Disclaimer – I work for Oracle in the cloud support group, this post is my point of view and not Oracles, but I work there so respect to the company!
Peering Basics
In my setup I created two private VCNs (Virtual Cloud Networks) each containing a Linux instance. The VCN’s each have separate not overlapping private IP spaces as follows:
- Right VCN =10.20.0.0/16 – with subnet 10.20.20.0/24 – Linux instance 10.20.20.2
- Left VCN = 10.10.0.0/16 – with subnet 10.10.10.0/24 – Linux instance 10.10.10.3

To route between the two VCN’s I mostly followed the Oracle directions – Local VCN Peering (Within Region). // The directions outline the creation of a Local Peering Gateway (LPG) for each VCN, adding a route to each subnet to direct traffic over to LPG, setting each VNIC (Virtual Network Interface) to “Skip Source/Destination Check” and to modify the security lists as needed.
I’m going to assume you’ve created two VCN’s and have instances in them you want to route traffic between. If you’ve not done that please do so before proceeding, I named my VCNs and Instances Right and Left. I’m also going to assume you have all the rights required to perform these operations, if you don’t you should obtain them.
Creating the LPGs
You’ll need to create a LPG for each subnet you want to route traffic between. Below are directions to create one LPG. Repeat the directions for the other subnet.
- In the Oracle Cloud management site click the Three lines in the top Left corner, hover over Networking and click Virtual Cloud Networks.
- Select the VCN you’re interested in – for me I am going to start with the Right one, get it the right one. Ha!
- Under resources to the left click Local Peering Gateways. Then click Create Local Peering Gateway.
- Fill out the basics. I used the following: Name (Right_to_Left), Compartment (kmiller) and Route table (Default table for now)
- Click Create Local Peering Gateway

Configuring the VNICS
Next, the VNICs attached to the instances you want to route traffic between need to be configured to skip source and destination checking. Otherwise the private IP traffic will not flow, and you’ll be sad frustrated face. Use the following steps for all Instances in the VCNs you want to route between:
- In the Oracle Cloud management site click the Three lines in the top Left corner, hover over Compute and click Instances
- Select the instance you’re going to work with, again I am going to select the right one.
- Under Resources to the left click Attached VNICs, hover over the Three dots next to the VNIC in your private IP space and select Edit VNIC
- Place a check box in the Skip Source/Destination Check
- Click Update VNIC

Create and configure Routing Tables
Now we have instances that can send private traffic where ever they want to, and we have two LPGs all ready to accept and forward that traffic. To tell the traffic where to go we need to setup routing tables in each VCN and apply them to correct subnet. I say create because I was not able to add an LPG route to the default routing table without errors(they appear to be by desgin, and I am going to accept that for now). Use the following steps for each Subnet.
- In the Oracle Cloud management site click the Three lines in the top Left corner, hover over Networking and click Virtual Cloud Networks.
- Select the VCN you’re interested in, yup you guessed it the right one for me.
- Under Resources to the left click Route Tables, click Create Route Table
- Fill out the basics. I used the following: Name (Right_to_Left), Compartment (kmiller) and created one Route Rule
- Target type = LPG // Destination CDIR = 10.10.0.0/16 (The other Subnet) // Target LPG = The other Subnets LPG
- Click Create Route Table

Now you need to assign the routing table to the correct subnet:
- Under Resources to the left click Subnets
- Hover over the Three dots next to the subnet with your private IP space and select Edit Subnet
- Modify the Route Table to the one you just created above.

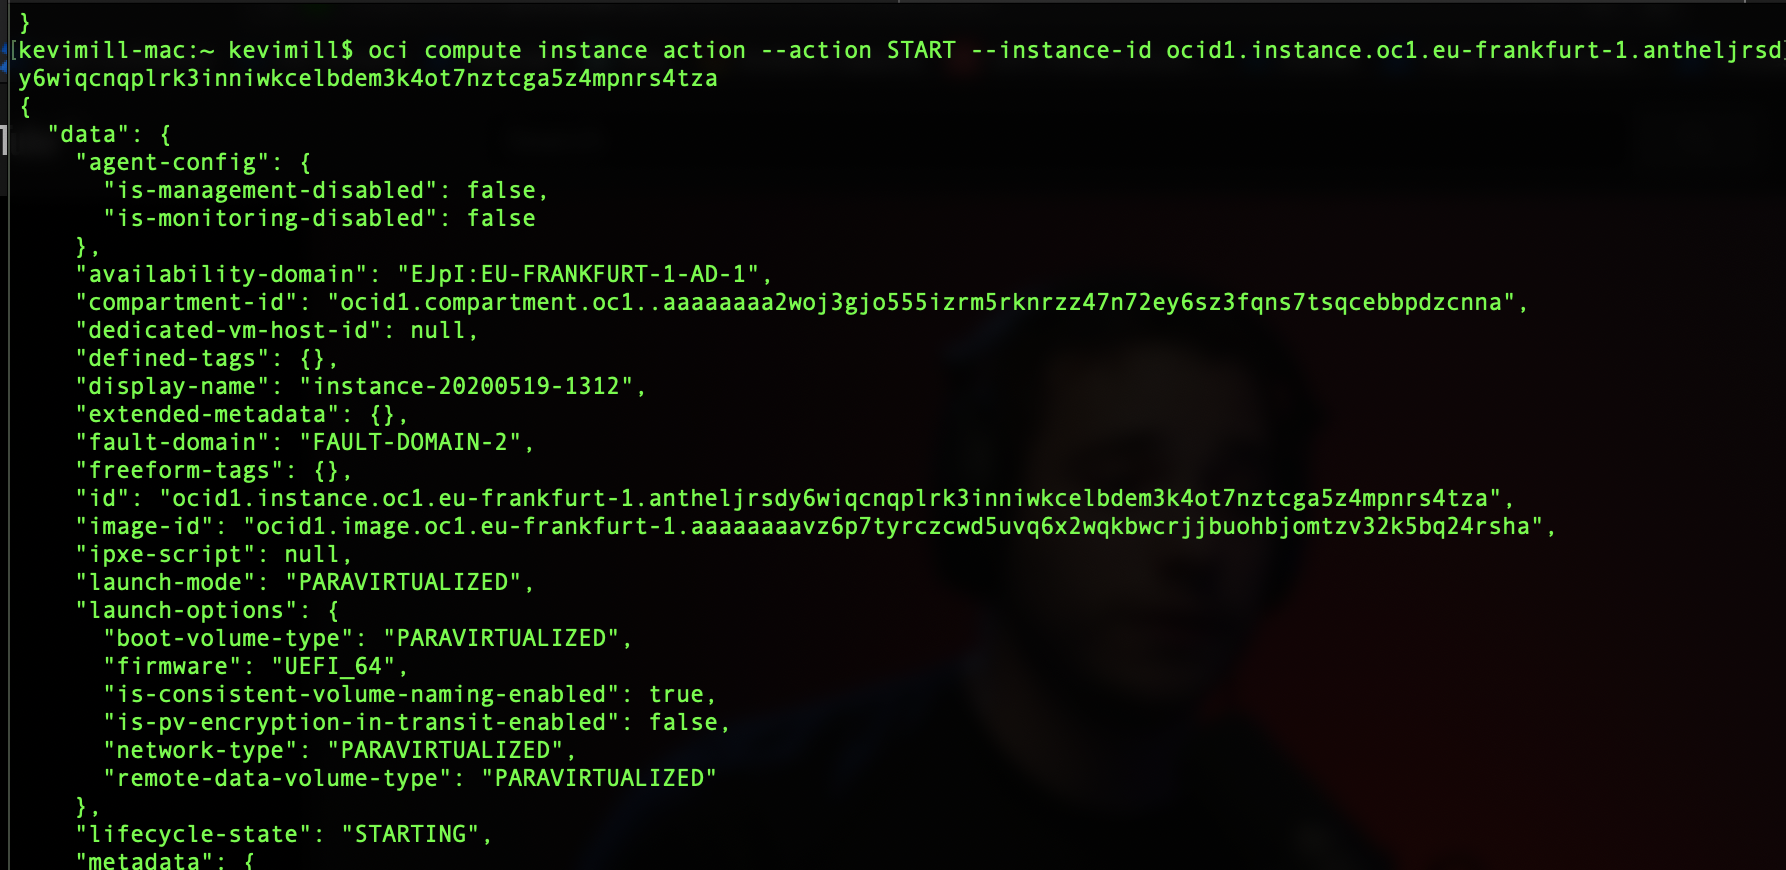
After you follow these steps for both sides, your VCN’s should be peered, and traffic should flow. – How to test that is up to you. The next section covers what I did to allow ICMP traffic to facilitate a ping test. It is not required, it is only an option.
Testing the Setup
The default security list does not permit ICMP pings to traverse the LPG. If you want to test with Ping packets you’ll need to modify the Ingress rules on the security list associated with the Subnet to allow ICMP packets. Allowing ICMP traffic is not required, its an option. Please only take this option if you understand the possible impact.
- From the Subnet screen in the above step click on the security list associated with the subnet. (its directly under Route table with the arrow pointing to it in the above image)
- Click on Edit All Rules
- I started with a default Security list that had two rules for ICMP traffic. I deleted the second ICMP Ingress rule for Type 3 ICMP traffic and modified the second rule to allow ALL traffic.
- Click Save Security List Rules

After deleting the rule I was able to ping between the two instances.


